The materials used in cooling towers are susceptible to corrosion, particularly in coastal areas. If not addressed promptly, this can lead to structural issues and compromise the structural integrity of the building owner, and the cooling tower.
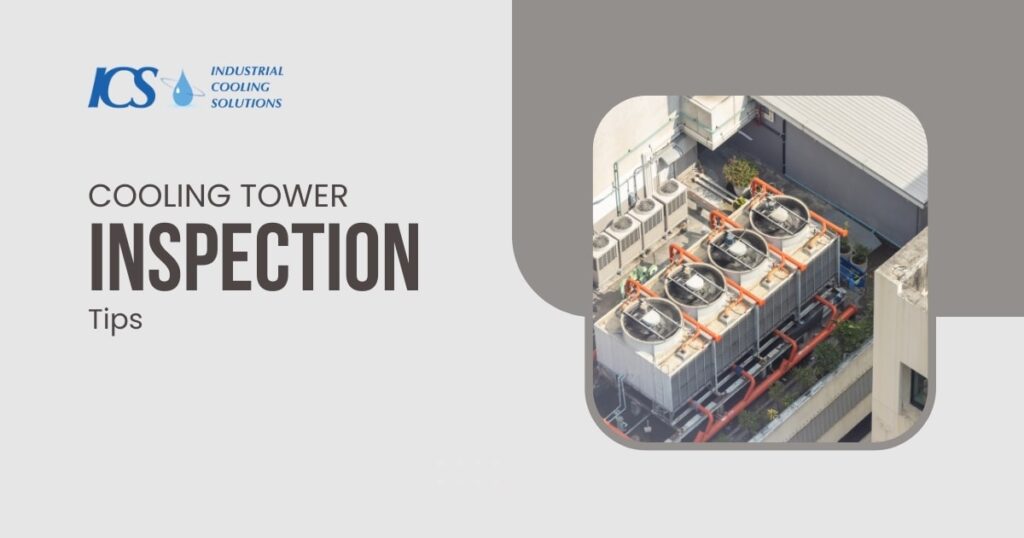
Scheduling a regular and thorough cooling tower inspection is essential in safeguarding its efficiency and lifespan. During the inspection, examining the cooling tower components for signs of damage is crucial.
After you’ve completed the cooling tower inspection checklist, use the results to plan your cooling tower repair and maintenance. Always read your cooling tower’s manual if you have any questions about its inspection. Following a systematic cooling tower maintenance checklist ensures reliability and optimal performance, extends the lifespan and reliability of the cooling tower, and prevents costly breakdowns.
This blog post will discuss the instructions for a thorough cooling tower inspection.
Cooling Tower Preventive Maintenance Checklist
Proper cooling tower inspection is the only way to ensure its effectiveness and safety in the long run. A preventative cooling tower maintenance checklist and schedule are important for identifying potential issues before they become significant problems. Following a cooling tower preventive maintenance and checklist is essential for maintaining an optimal working temperature of the cooled equipment and keeping everyone safe. Cooling towers are responsible for maintaining an optimal working temperature of the cooled equipment and keeping everyone safe. It is vital to check valves, fittings, and couplings for proper operation and tightness as part of the water piping maintenance process. If they fail to do so, it can drastically affect your systems.
Regular cooling tower inspections are crucial for preventing LegionLegionnaires’se, a severe type of pneumonia caused by bacteria that can thrive in cooling tower systems.
To avoid this physical damage, you need to learn about preventative maintenance of tower inspections. Here are some important tips and tricks regarding cooling tower inspections.
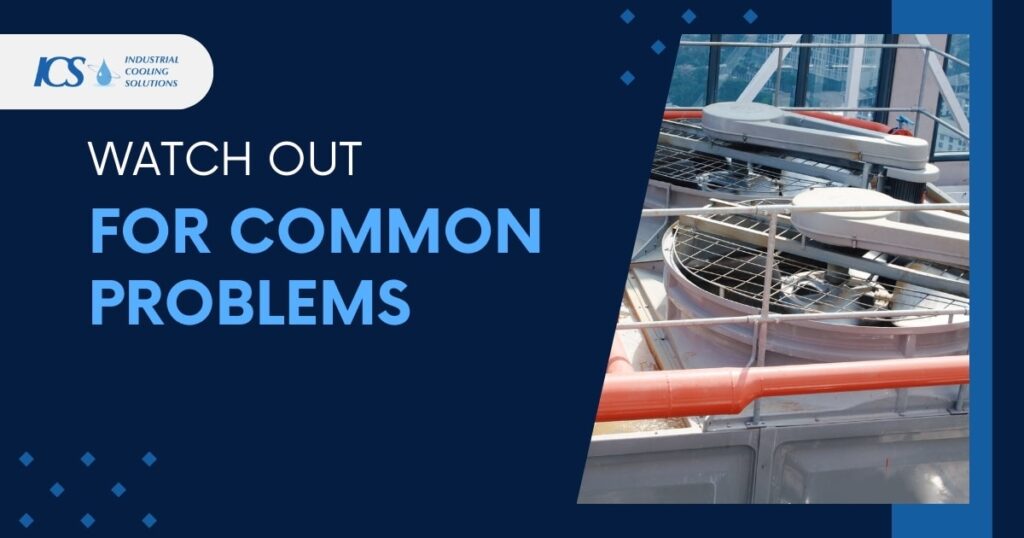
Watch Out for Common Problems
You must understand the cooling tower processes and common maintenance problems to simplify the cooling tower inspections and inspection process. The three most common cooling tower problems are:
- Corrosion of internal structures
- Water Quality Issues
- Mechanical damage of moving parts
Ensuring the mechanical integrity of moving parts is essential to prevent mechanical damage and damaged components and maintain efficient operation.
Inspecting the water distribution system and ensuring even water flow is also crucial. This helps maintain optimal performance and prevent clogging or malfunctioning spray nozzles.
These problems can be particularly costly repairs; however, most can be solved if you invest in quality manufactured towers and proper installation.
For example, in the exposure areas, you should use non-corroding material such as engineered plastic (e.g., HDPE).
Personal Protective Equipment

Cooling tower workers should wear the following equipment before starting the inspection:
- a hard hat
- work gloves
- high-top leather boots with nonslip soles
- full-body harness
- safety glasses or goggles
- two shock-absorbing lanyards
Cooling Tower Hygiene
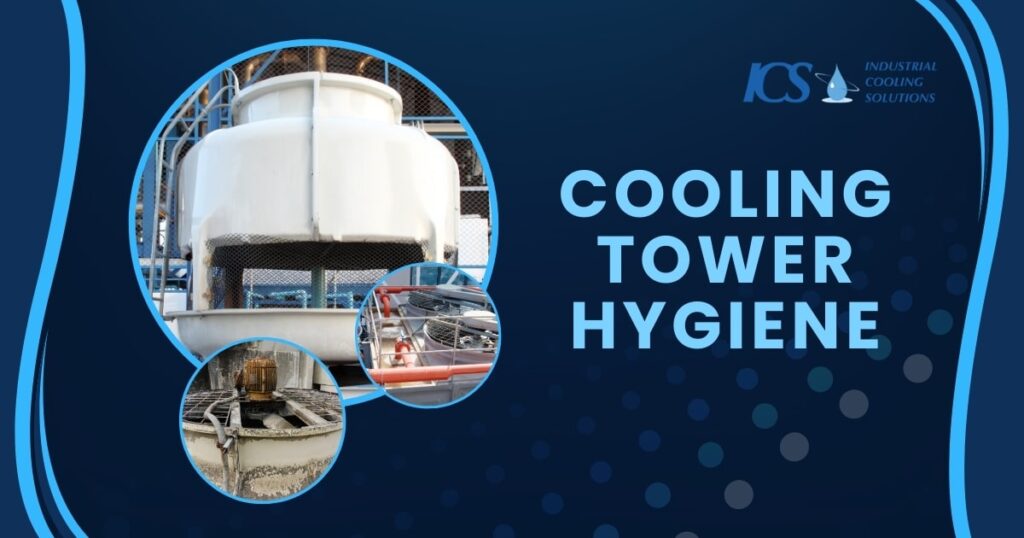
An unclean cooling tower can breed harmful biological agents and promote biological growth, so regularly inspecting and maintaining these systems is essential.
Inspecting water treatment equipment such as chemical feeders, filters, and pH control systems is essential to ensure proper functioning and make necessary adjustments.
Regular and thorough inspections of operating cooling towers are crucial for maintaining reasonable biological control and ensuring a proactive water treatment plan, as per ANSI/ASHRAE Standard 188 and Guideline 12.
What to Inspect
- During inspection, a visual evaluation of the water and distribution basins, including the hot water basin, is conducted.
- Look for signs of reasonable biological control, such as clean and clear water without green or brown algae below the water line.
- Identify indicators of poor control, such as cloudy, dirty, or foul-smelling water.
- Watch out for rust-colored corrosion “pockets” filled with black liquid emitting a rotten egg smell.
Actions to Take
If poor biological control is detected, take immediate action:
- Thoroughly clean the cooling tower.
- Evaluate the water treatment system to address any issues.
Practicing biological testing and implementing effective biological control procedures can result in clean cooling towers. This preventative maintenance combats biological growth and helps mitigate corrosion and scaling issues.
Regular inspection and maintenance of cooling towers are essential for ensuring safe and efficient, uninterrupted operations, promoting a healthy environment, using water samples, and preventing potential risks associated with biological contamination.
Inspections
Tower Casing
Check for leaks, cracks, holes, or general deterioration, including air leaks between adjoining panels. Ensure that the hardware that attaches the casing to the tower structure is tight and in good condition. There are three types of casings. It would help if you inspected them accordingly:
- Inspect steel casing to check for corrosion or scale buildup.
- Check wood casing for signs of wood decay, including soft rot or plywood delamination.
- Examine the brittleness or cracking in the fiberglass casing.
Ensure that the access doors are in good working order and shut tightly when the tower is in operation.
Structure
Inspect the steel tower structure for corrosion—particularly any metal loss. For this purpose, you need to look for the following things:
- Tightness of bolted joints
- Signs of corrosion near welded joints
- Corrosion near galvanized steel towers
- Signs of wood deterioration
Inspect wood both visually and by tapping with a hammer. A dull, low-pitched sound indicates softness, while a higher-pitched, sharp sound indicates good solid wood.
If you find soft spots in the wood, carefully probe with an ice pick. Pay particular attention to the wood around the steel and the bottom of the columns. Spot-check the tightness of bolted structural joints. Inspect joint connectors to check for corrosion or other signs of damage. Check the assembled joints of a plastic or fiberglass tower to ensure they are tight and in good condition. Check for tearing or cracking in the structure.
Cooling Tower Inspection
Let’s look at which cooling tower components need proper cleaning and inspections and how to inspect them.
Determining the appropriate inspection frequency for each electrical component is essential for maintaining the cooling tower’s overall health.
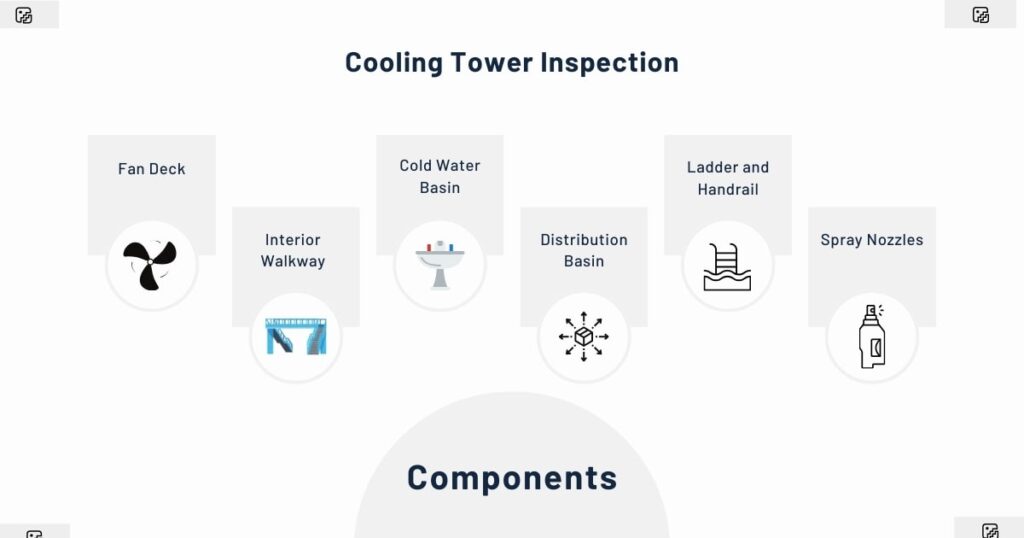
Fan Deck
Examine the general condition of the fan deck material for any steel corrosion or wood decay. Fan deck support members should be in good condition, and connections between the fan deck and the supports should be tight. Check for air leaks between adjoining fan deck panels. Loose fan deck overlays can cause tripping. Ensure the proper attachment and overlays are in good condition. Consider replacing ACB overlays immediately.
Interior Walkway
Check wood or fiberglass walkways for broken or deteriorated treads and rails. Inspect steel walkways for corrosion.
Check the tightness of connections between the cooling tower structure and the walkway. Pay attention to any deterioration that may cause a potential safety hazard for cooling tower operation and maintenance.
Cold Water Basin
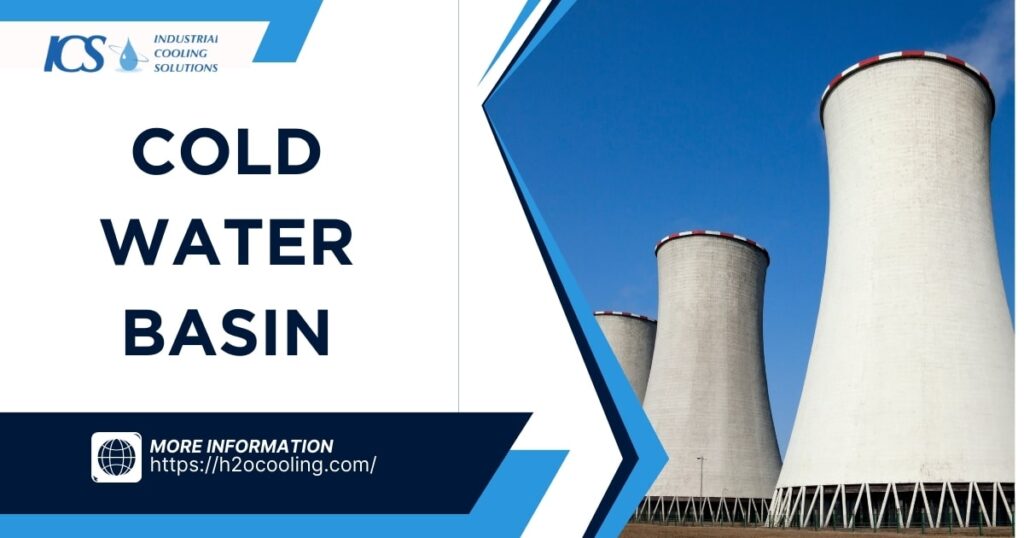
Look for excessive sludge buildup and accumulated debris that can breed bacteria. Check the condition of the sump, sump screen, and anti-cavitation device (if one is used). The sump screen should be free of trash. In particular, note any corrosion or metal loss in cold water basin components. Scrutinize the following equipment for any signs of leaks or seal material breakdown.
- wood basin
- steel basin
- fiberglass basin
Distribution Basin
Check the water distribution system, including wood for decay and steel for corrosion. Look for leaks between adjoining panels. Inspect the strength of basin support members. Check if bolted joints in steel or fiberglass basins are tight enough.
Stairway
When inspecting stairways, look for evidence of wood decay or steel corrosion. Check for the following, in particular:
- loose threads
- handrails
- deteriorated stringers
Ensure all bolted connections are tight and that hardware is in good condition.
Ladder and Handrail
Check the material’s general condition and ensure tight connections between the ladder and the cooling tower. The connections should be in good condition. Also, check for welds on steel and aluminum ladders.
Piping and Water Treatment System
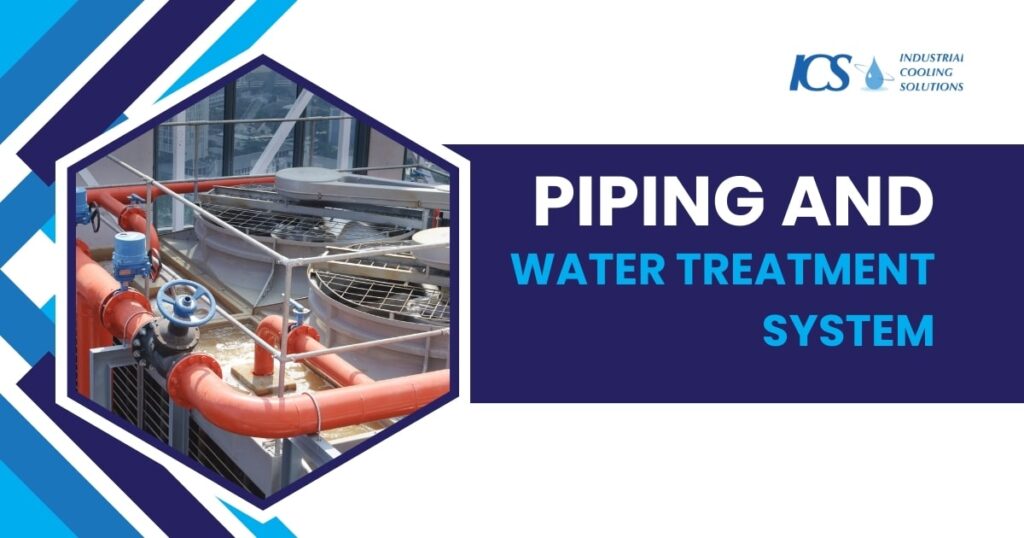
Check the iron pipe to detect any corrosion as well as loss of coating material. Check all supports to ensure their integrity for continued service.
Spot check for leaks and tightness of bolted joints. Check for signs of deterioration on fiberglass pipes or PVC.
Basin Flow-Control Valves
Examine valve components to detect corrosion or damage signs and ensure proper operation. Check the valve manually at its full range of operation and reset the valves to balance the flow of water to all basin sections.
Spray Nozzles
Check for clogging and signs of internal wear, and inspect the water flow to ensure it is even across the entire rain zone. Temporarily remove and disassemble a nozzle to check internal clogging. Ensure all nozzle components (such as removable splash plates) are in place and working correctly. Check if any material is lost due to corrosion or erosion. Check for adequate connection to the branch pipe or distribution basin floor.
Fill (Packing)
There are two types of fill.
- splash
- film
Splash and fill material comprises wood or plastic bars in various shapes, arranged in a fixed spacing and orientation, usually with the help of a wire or fiberglass grid. Ceramic bricks are also a type of splash and fill material. For each splash fill, you must check the splash bars’ condition. Look for sagging, broken parts, decaying splash bars, or excessive scale buildup. Look also for misplaced or fallen splash bars. Ensure all supporting grids are in place and evenly spaced in the tower. Check the coating on steel grids, the general condition of fiberglass grids, and the welds on stainless wire grids. If a grid section shows excessive deterioration, it should be replaced. Also, the tower members that support the grid itself should be examined.
Film fill consists of parallel formed sheets resting on fixed support members or hung in the tower. Check for buildup of algae, scale, or other contaminants on the surface of the sheets.
Also, look for sagging, torn sheets, erosion, or evidence of ice damage. Check the condition of support members.
Drift (Mist) Eliminators
Cleanliness and effectiveness of drift eliminators significantly reduce drift emissions and maximize water containment. Ensure all air passages are clear of debris and as clean as possible. Check that all electrical components are correctly installed. Check the condition of seals to ensure that water can’t pass the drift eliminators through rusted or missing seals. Wood blades and frames can face harsh environmental conditions and should be checked for rot and decay. If you need to order replacement parts, please note the material and configuration of the drift eliminators.
Louvers
Make sure that all the louvers of your cooling tower are in place. Look for any rust on the base material, such as steel louvers or wood rot corrosion. Check for the following:
- Excessive scale buildup or algae growth.
- Condition of louver support members
- Connections between the louvers (supports) and the cooling tower
Belt Drive Fan System
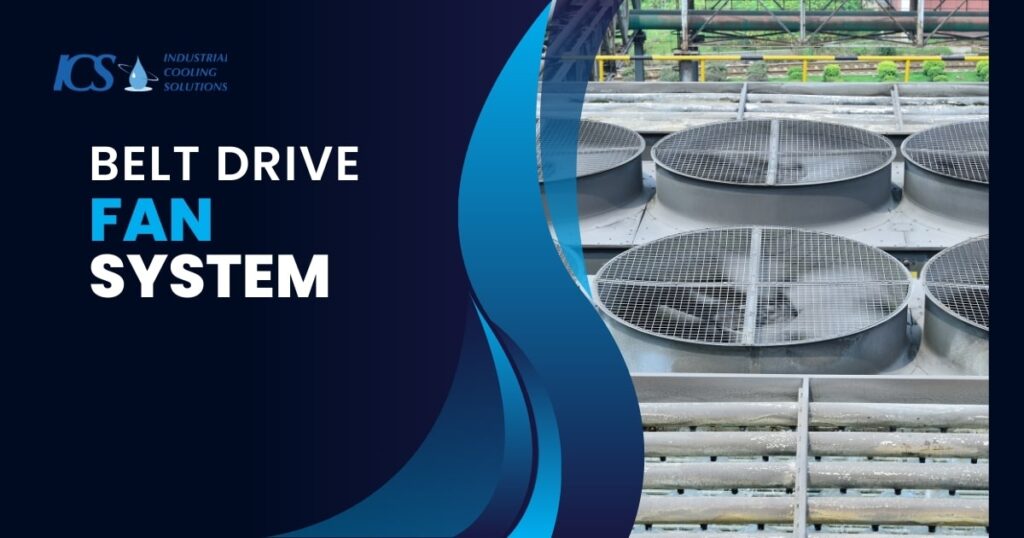
Examine the pulleys’ condition, keeping an eye out for any metal loss or corrosion in the pulley grooves or on the webs. Make sure the shaft-mounted pulleys are securely fastened with tight, well-maintained bushings. Verify the belt’s position and tension. Watch for wear indicators like gouges and checks that suggest it’s time to replace your belts. Inspect and, if required, relubricate the fan shaft bearing lubricant. Verify the condition of the seals and shafts. Inspect for broken or loose bearings. Ensure that every connection between the support and the bearing housing is secure and in good working order. Examine the support for signs of rust or other deterioration and ensure tight connections between it and the tower structure.
Gear Drive
After turning off the fan, check the oil level and replace or add more oil as needed. After draining an oil sample, check for any signs of foreign matter, including sludge, metal shavings, or water. In particular, look for oil leaks around input pinion seals. If the leakage appears to be considerable, replace the seal. To measure backlash, turn the pinion shaft in both directions and record the free rotation until the gear teeth engage entirely. You can check endplay by pulling up and down on the tip of a fan blade and observing the movement in the gear drive output shaft. For optimal gear life, some backlash and endplay are required. Make sure there are no excessive deposits on the case’s outside that could prevent cooling.
Direct Drive Fan System
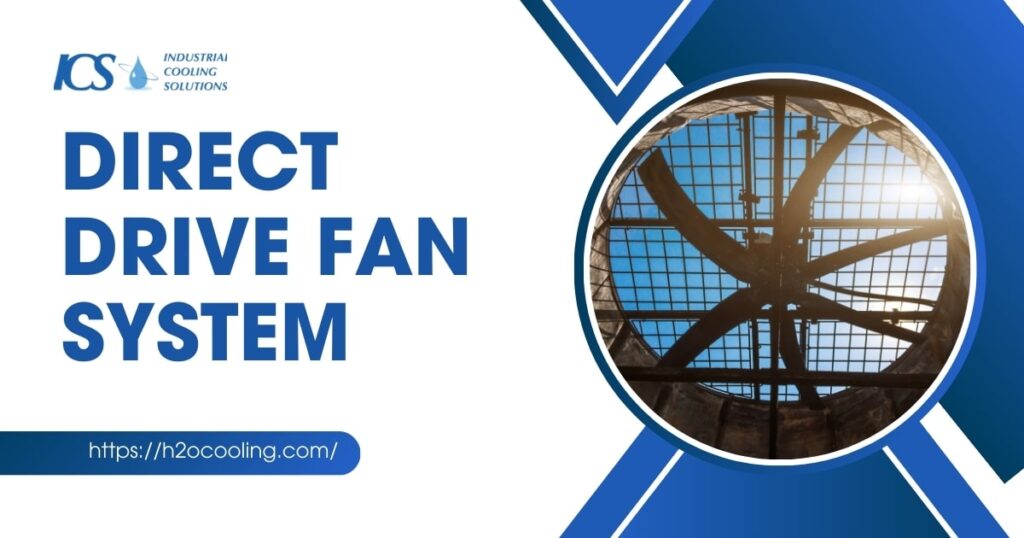
Ensure that the fan bushing is tight on the motor shaft and that the bushing and its hardware are in good condition. Also, examine the joints between the motor mount and its support.
Gearbox Oil Check
When inspecting the gear drive, turn the fan off, check the oil level, and add or replace oil as necessary.
Driveshaft and Couplings
Use any authorized technique, like an optical instrument or dial indication, to verify alignment. Examine the tube for corrosion or other deterioration, especially near any welds. Examine every connection between the coupling halves, the motor and gear drive shafts, the tube, and the flex parts. Examine metallic flex components for corrosion or wear and tear. Check for wear indicators such as brittleness, cracks, or other issues with elastomeric flex parts. A single span is found in a lot of driveshafts. However, some still have an intermediate bearing housing support and two shafts. If your driveshaft has a mid-span bearing, thoroughly insshafts’e bearing and lubricate it as needed. Verify both shafts’ alignment and ensure the bearing hold-down hardware is secure and in good working order.
Fan
If your tower has centrifugal blowers, check fan blades for broken or missing ones. Look for corrosion of the blades near any welds between the blades and the end plates. For this purpose look for the following:
- Fixed-pitch fan blades for corrosion
- Connections between the blades and the hub
- Tightness of the bushing between the hub and shaft.
- Corrosion of blades and hub of adjustable-pitch fans
Carefully measure the pitch angle of each blade, and readjust the blades to the manufacturer’s mended pitch angle within +1/2°. Check the tightness and condition of the hardware by attaching the manufacturer’s amendment as necessary using the recommended procedures.
Examine the material’s general state, being especially mindful of any welds in the steel shrouds. Verify the state and tightness of every piece of hold-down and assembly hardware. Check for any leaks that may exist between adjacent stack segments. Using the longest fan blade, determine the fan blade tip clearance around the cylinder. Tip clearance can be changed by modifying the cylinder or support under the guidelines.
Using the longest fan blade, gauge the fan’s tip clearance around the cylinder during inspection.
Mechanical Equipment Support
Examine all steel components for corrosion near welds and bearing surfaces. Check the tightness of connections between the mechanical equipment and the support and between the support and the tower structure. Check all bolted connections in the support for proper tightness and hardware condition. Look for evidence of iron rot on wood towers wherever the support contacts the structure. Check all bolted connections between the support and the structure on steel and fiberglass towers.
Makeup Valve
Operate the float valve or switch manually to ensure it opens and closes properly.
How to Maintain a Cooling Tower?

To make this maintenance effort more systemic, you need to divide it by the frequency of the tasks performed. It would help to establish a regular inspection schedule to make this maintenance effort more systematic. Inspecting electrical components regularly to ensure their safety and regulatory compliance is crucial, as it helps secure electrical connections and mitigate potential safety hazards. With that in mind, and without further ado, here are some tasks you would perform well every month, three months, or six months.
Once Every Week
When talking about safety, from the standpoint of health and the environment, once every week, you need to inspect the cooling tower system for traces of heterotrophic bacteria. Legionella needs to be analyzed in a laboratory that specializes in its detection. Also, an excellent visual and audio inspection of the cooling tower structure can spot issues early, especially biological growth or fouling. Look for algae, bacterial growth, or calcium buildup.
Monthly Maintenance
Regular maintenance revolves around a timely cooling tower inspection. Ideally, an inspection of various parts depends on their order of urgency.
Every month, one must inspect the cooling tower’s general conditions and the sump water’s clarity. Under general conditions, you must start with elements like a tower, stairway, ladder, and walkway. Importantly, you need to check the clarity of sump water. The easiest way to inspect it is to look at the sump screen and the anti-cavitation device (if there is one). Now, ideally, the sump screen should be as clean as possible.
Next, you must check the water level in the cold water basin and make all the necessary adjustments. While making the adjustments, you should also inspect the hot water basin flow control valves. Here, you’re looking for signs of wear and tear or regular corrosion. If they’re in good condition, they are safe for you. Repeating these valves manually to balance water is one of the essential tasks in the maintenance of cooling towers.
Once you’re satisfied with the water balance, you want to check the float ball and makeup valve. You should manually switch your parts to ensure they are closed or opened.
Cooling towers have an electricity-powered fan system. As such, you want to maintain the line voltage and motor amperage with proper, consistent readings. While at it, you also want to check the joints between the motor mount and the support it rests on.
Although these tasks are needed less frequently every three months, they’re essential to the cooling tower maintenance process. Since they’re every three months, skipping regular tower inspections or not conducting them thoroughly enough could have catastrophic effects. After all, if you miss something during the inspection, you must wait three more months until the next inspection.
One of the first steps is to lubricate the motor bearing. However, this is only done if the motor has a greasing fitting. The majority of cooling tower motors do not require external greasing. It all depends on the type of industrial cooling tower on the premises.
Wear-and-tear and the quality of the lubricant determine the effectiveness of the cooling tower. Consider adding these materials when estimating the cost of the cooling tower realistically.
Now that you have the motor bearing off the cooling tower inspection checklist, you should check for obstructed water flows through nozzle orifices. Regardless of whether you notice any obstruction, it’s safer to clean and flush spray nozzles. Remember that this is something you won’t win every day.
Next, you should inspect the tightness of all bolts at fan assemblies. Once the inspection is done, you won’t need to retighten any bolts not at the specified torque. As soon as you’re done with this, you should also inspect the fan/motor assembly to check for any damage to the fan blades and motor. Also, ensure your vibration cut-out switch is wired and functioning correctly.
Meeting with the water treatment company that regularly monitors tower chemical treatment to review records and future treatment recommendations is also a good idea. Biological growth or heavy scaling can significantly hurt efficiency, damage the cooling tower structure and other downstream equipment, and be very expensive to reverse. Competent water treatment is not a place to sacrifice quality to save the costs of your cooling tower.
Every 6 Months
Flushing water sump is a part of every cooling tower inspection checklist. It should be done in the cleanest, safest, and most ethical possible way. This depends on the local regulations and options, so contacting local authorities is the way to go.
Key Takeaways
There are the following three ways to ensure the security of your cooling tower system:
- You need to be systematic (which is why you need a checklist).
- It would help if you were vigilant (which is why you must perform these inspections regularly).
- It would help if you learned as much as possible about cooling tower maintenance (that is why this list exists in the first place).
A well-structured maintenance plan is essential for ensuring the security and efficiency of your cooling tower system.
Maintaining your cooling towers should be OK with these three factors. It should be fine.
The last piece of advice is that it is best to talk to the manufacturer directly about maintenance.
Contact us today to learn more about industrial cooling solutions such as induced draft cooling towers or our forced draft cooling towers.