A neglected cooling tower is a ticking time bomb for facility operations. Without regular checks, minor mechanical wear quickly escalates into catastrophic failures, severe inefficiency, and significant safety hazards like Legionella outbreaks. A proactive approach to maintenance not only extends the lifespan of your equipment but also safeguards your bottom line against unexpected downtime.
Following a structured, step-by-step process is the only way to ensure nothing is overlooked during an assessment. This guide outlines the complete cooling tower inspection steps used by industry experts to maintain peak performance and reliability.
Understanding the Purpose of a Cooling Tower Inspection
An inspection goes beyond simply checking if the fan is spinning. It is a diagnostic tool designed to reveal hidden problems such as mechanical wear, biological fouling, structural weaknesses, and drift issues. Identifying these factors early allows maintenance teams to plan repairs proactively rather than reacting to emergency shutdowns.
There are distinctions between types of inspections. Routine inspections happen frequently to catch obvious issues, while seasonal inspections prepare the tower for weather changes. Annual shutdown inspections allow for a deep dive into internal components that are usually inaccessible.
While internal teams can handle routine checks, certified cooling tower contractors should perform comprehensive structural and mechanical audits to ensure compliance and safety.
Pre-Inspection Preparation (Critical but Commonly Ignored)
Rushing into an inspection without preparation is a recipe for injury and inaccurate data. Safety must always come first. Ensure all Lockout/Tagout (LOTO) procedures are active to isolate energy sources. Personnel must wear appropriate Personal Protective Equipment (PPE), including respiratory protection if biological hazards are suspected. Identify safe access points, such as ladders and walkways, before beginning.
Gather the necessary documentation and tools. You will need inspection forms, a camera for photographic evidence, flashlights, and the original manufacturer specifications for reference.
Finally, determine the operational state required for the inspection. Some checks require the tower to be under full load, while others necessitate a complete shutdown and drainage of the basin.
Step-By-Step Cooling Tower Inspection Process
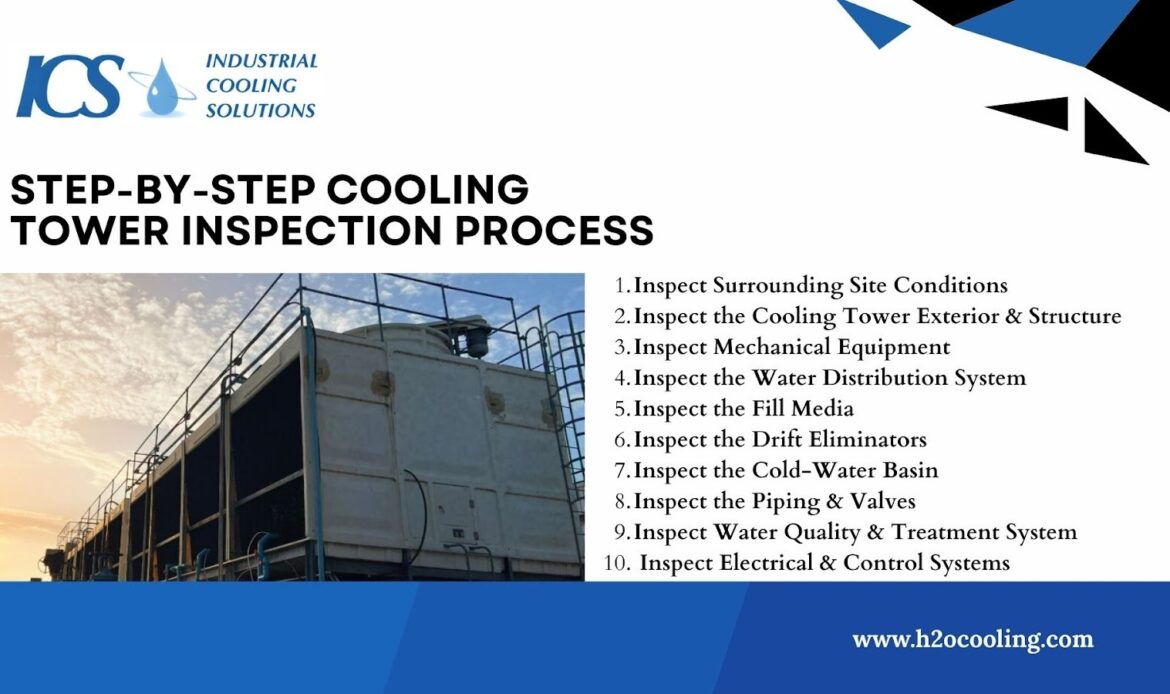
Executing a methodical inspection ensures no component is overlooked. Follow these cooling tower inspection steps to perform a thorough assessment of your system.
Step 1: Inspect the Surrounding Site Conditions
The environment around the tower impacts its performance significantly. Start by looking for external factors that could compromise operation.
- Debris and Obstructions: Look for leaves, trash, or pallets blocking air intakes.
- Recirculation: Check if hot discharge air is being drawn back into the inlet.
- Environmental Contaminants: Note if sources of pollen, sand, or construction dust are nearby.
- Chemical Exposure: Identify if aggressive chemicals from nearby vents are degrading the tower exterior.
Step 2: Inspect the Cooling Tower Exterior & Structure
The structural integrity of the tower is fundamental to safe operation. Examine the main framework, whether it is constructed of wood, galvanized steel, or fiberglass reinforced plastic (FRP), for signs of stress or degradation.
- Framework Integrity: Examine wood for rot, steel for heavy corrosion, and fiberglass (FRP) for UV damage or crazing.
- Fasteners and Hardware: Check for loose or missing bolts that could compromise stability.
- Basin Foundation: Ensure the cold-water basin is level and the concrete pad shows no signs of settling or cracking.
- Leakage: Inspect casing panels for water leaks that indicate sealing failures.
Step 3: Inspect the Mechanical Equipment
Moving parts endure the most stress and are the most likely failure points. Listen and look closely at the drivetrain.
- Fan Assembly: Inspect blades for cracks, erosion, or pitch imbalance that causes vibration.
- Motor Condition: Check for overheating signs, verify amperage draw, and ensure proper lubrication.
- Gearbox: Analyze oil levels, check for seal leaks, and monitor operating temperature.
- Drive Shafts: Look for worn couplings and ensure alignment is within tolerance to prevent premature bearing failure.
- Belts: If belt-driven, check tension levels and look for cracking or glazing.
Step 4: Inspect the Water Distribution System
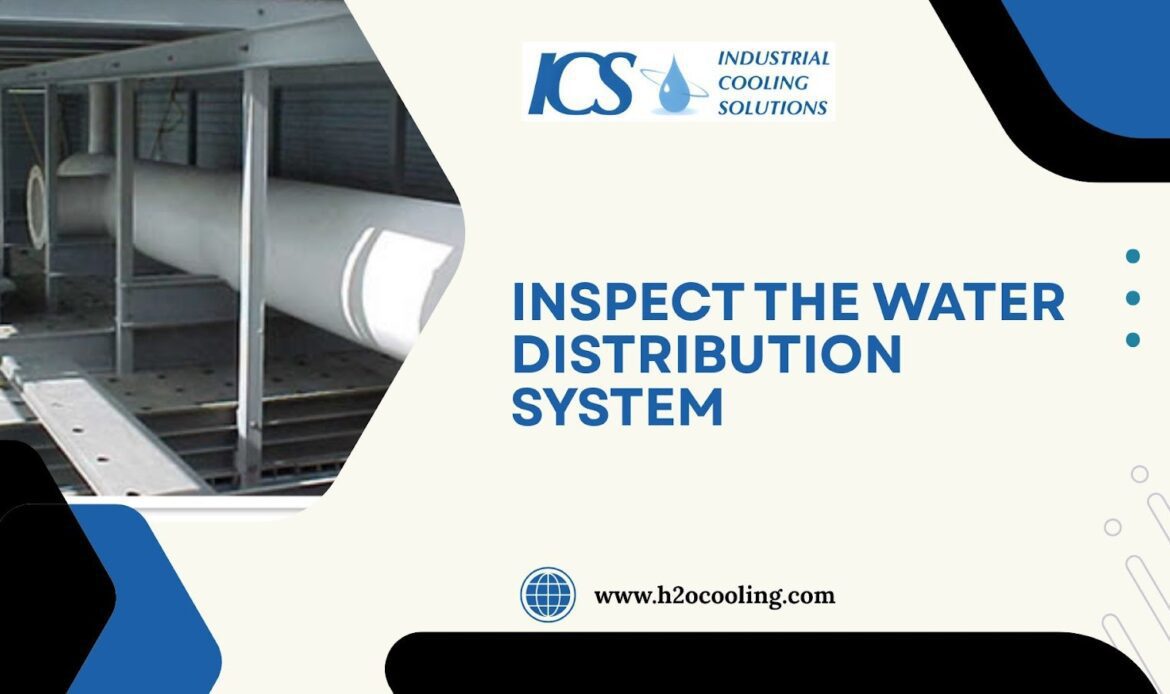
Uneven water flow reduces cooling capacity instantly, while moving cooling tower parts endure the most stress and are the most likely failure points. The distribution system must blanket the fill media evenly, so listen and look closely at the drivetrain.
- Spray Nozzles: Check for clogged or missing nozzles that create dry spots in the fill.
- Spray Pattern: Ensure the water pattern is overlapping correctly for full coverage.
- Hot Water Basins: Look for corrosion in steel basins and biological growth or silt buildup clogging the orifices.
- Hydraulic Balance: Verify that the water level is consistent across all cells if it is a multi-cell tower.
Step 5: Inspect the Fill Media
The fill is where the heat transfer happens—any fouling drastically reduces efficiency. Moving parts, like the drivetrain, endure the most stress and are prone to failure. Pay close attention and monitor them carefully.
- Fouling and Scale: Look for calcium scaling or biological slime that restricts airflow and water contact.
- Physical Damage: Check for crushed or sagging fill packs, which indicate ice damage or overheating.
- Brittleness: Test PVC fill for brittleness caused by chemical attack or UV exposure.
Step 6: Inspect the Drift Eliminators
Drift eliminators trap water droplets, preventing escape from the tower, while moving parts like the drivetrain endure the most stress and are common failure points. Monitor them closely for water loss or safety risks.
- Physical Condition: Look for gaps, cracks, or warped sections that allow water to bypass.
- Cleanliness: Check for scale buildup or biofilm that increases the air pressure drop.
- Placement: Ensure they are tightly fitted and installed in the correct direction.
Step 7: Inspect the Cold-Water Basin
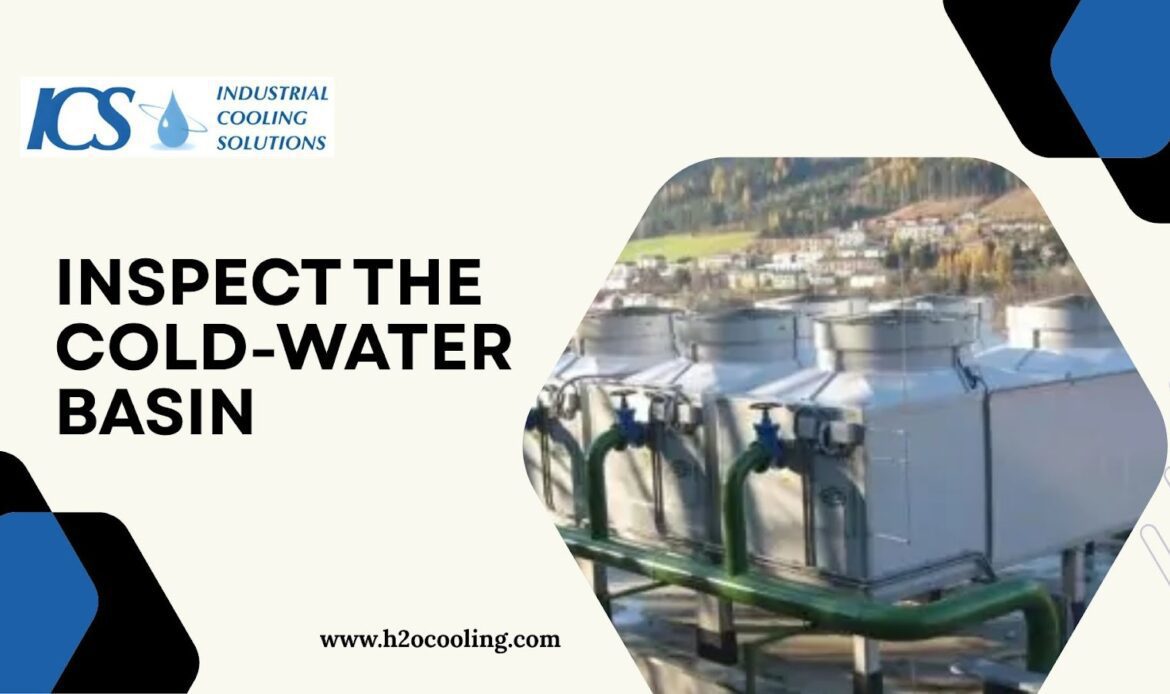
The basin collects the cooled water, but it's also a prime spot for debris to accumulate. Moving parts endure the most stress and are the most likely failure points. Listen and look closely at the drivetrain. Ignoring this can lead to water loss or significant safety risks.
- Sediment Accumulation: measure the depth of sludge or sand; high levels promote under-deposit corrosion and bacterial growth.
- Suction Screens: Ensure screens are intact and clean to prevent debris from damaging the pumps.
- Make-up Water: Test float valves for proper operation and check overflow levels.
- Basin Heaters: If present, inspect electrical connections and elements for winter readiness.
Step 8: Inspect the Piping & Valves
Piping connects the tower to the rest of the facility. Leaks in the piping system are a common point of failure, leading to the loss of expensive treated water and chemicals. Ignoring these leaks will not only increase operational costs but can also cause water damage to surrounding equipment and structures.
- Support and Vibration: Check that pipe hangers are secure and not transferring excessive vibration to the tower structure.
- Valve Operation: Cycle isolation valves to ensure they do not seize.
- Insulation: Inspect heat trace and insulation for damage that could lead to freezing.
- Corrosion: Look for pitting or rusting on external pipe surfaces.
Step 9: Inspect the Water Quality & Treatment System
Chemical control is vital for preventing scale and Legionella, and the equipment must be reliable. Moving parts, such as the drivetrain, endure the most stress and are the most likely points of failure.
If ignored, issues can escalate, leading to equipment breakdowns, reduced efficiency, and potential safety risks. Regular monitoring and maintenance are essential.
- Chemical Pumps: Verify pumps are primed and dosing correctly.
- Sensors: Check conductivity and pH probes for fouling or calibration errors.
- Biological Control: Review biocide logs to ensure Legionella control measures are active and effective.
- Testing Records: Confirm that on-site testing frequency matches the water management plan.
Step 10: Inspect Electrical & Control Systems
Modern towers rely on automation to enhance efficiency, with electronic components playing a crucial role. These components require thorough verification to ensure reliability and performance. Proper verification minimizes system failures, ensures safety standards are met, and extends the lifespan of the technology.
- Variable Frequency Drives (VFDs): Check for fault codes and ensure cooling fans on the drive itself are working.
- Vibration Switches: Test the vibration cutout switch to ensure it shuts down the fan during an imbalance event.
- Wiring: Inspect conduit and connections for corrosion or water ingress.
- Basin Level Controls: Verify electronic water level sensors are reading accurately.
Common Issues Found During Cooling Tower Inspections
Regular inspections help identify recurring equipment issues before they escalate into major failures. By understanding the common problems that affect cooling towers, maintenance teams can develop a more proactive approach.
- Structural Degradation: Wood rot and steel corrosion are inevitable without aggressive maintenance.
- Fouled Fill: Airborne dust and poor water treatment combine to choke the fill media.
- Fan Imbalance: Even slight erosion on fan blades can cause destructive vibrations.
- Biological Growth: Algae and slime indicate a breakdown in the water treatment program.
- Drift Carryover: Wet decks or parking lots near the tower usually indicate drift eliminator failure.
When to Call a Professional Cooling Tower Expert
While your maintenance team can handle routine checks, some situations require specialized expertise. When it comes to high-stakes issues, don't hesitate to bring in a professional cooling tower expert like Industrial Cooling Solutions ( h2ocooling) for a complete Cooling Tower Inspection.
- Structural Risks: If the tower framework shows significant leaning or rot, structural engineers must assess safety.
- Gearbox Failure: Rebuilding or aligning complex gear reducers requires precision tools and training.
- Deep Cleaning: Heavy fouling often requires proprietary foam cleaning processes that internal teams cannot perform.
- Major Rebuilds: Thermal upgrades and basin replacements are capital projects best handled by contractors.
- H2OCooling: We are trusted globally for inspections, upgrades, rebuilds, and maintenance because we understand the intricate physics of thermal rejection and structural integrity.
Conclusion
A cooling tower is a critical piece of equipment that requires regular maintenance to ensure safe and efficient operation. This blog highlights the importance of consistent inspections and preventive care to avoid unexpected downtime and expensive emergency repairs.
By following a structured cooling tower inspection process, facilities can improve efficiency, extend equipment lifespan, and reduce operational risks. Preventive maintenance, rather than waiting for failures, ensures your system continues to perform reliably.
The blog outlines key cooling tower inspection steps along with actionable tips to keep your system running smoothly. Facilities that prioritize regular inspections and maintenance not only save money in the long term but also improve overall system performance.
If your inspection reveals issues you cannot handle alone, or if you need a comprehensive audit, contact H2ocooling’s expert team for inspections, upgrades, rebuilds, and emergency services today.
Frequently Asked Questions
What is included in a cooling tower inspection?
A cooling tower inspection includes checking structural components, mechanical equipment (fan, motor, gearbox), fill media, drift eliminators, water distribution system, basin condition, piping, valves, electrical controls, and water treatment systems
Who should perform a cooling tower inspection?
Basic routine checks can be done by an in-house maintenance team. However, annual shutdown inspections and structural/mechanical audits must be performed by certified cooling tower specialists to ensure accuracy, safety, and compliance.
What tools are needed for a cooling tower inspection?
Required tools include PPE, lockout/tagout gear, inspection forms, camera, flashlight, water testing kits, torque tools, infrared thermometer, vibration meter, and manufacturer manuals for reference.
What is the cost of a professional cooling tower inspection?
Costs vary by tower size and inspection depth. Routine inspections are usually low cost, while full structural and mechanical audits may require a specialized contractor and cost more. However, the cost is minor compared to downtime or equipment failure.